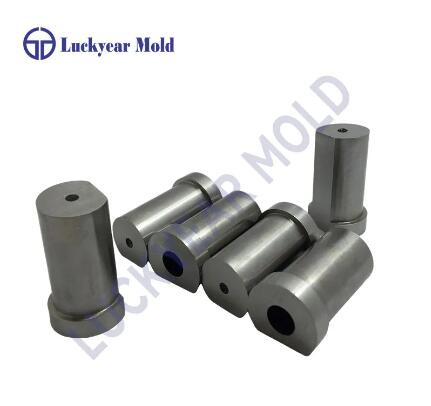
A Step-by-Step Guide to Troubleshooting a Broken Press Die Mold Component
2024-08-13
Press die molds are essential in manufacturing processes, especially in industries like automotive, aerospace, and consumer goods. However, even the most robust die mold components can break or malfunction due to wear and tear, improper use, or unforeseen circumstances. When this happens, quick and effective troubleshooting is crucial to minimize downtime and avoid costly repairs. In this blog, we’ll walk through the steps to troubleshoot a broken press die mold component.
Step 1: Identify the Problem
The first step in troubleshooting is to identify the exact nature of the problem. This can be done by:
- Visual Inspection: Examine the press die mold component for obvious signs of damage, such as cracks, chipping, or deformation.
- Operational Symptoms: Pay attention to any irregularities during the press operation, such as unusual noises, misalignment, or inconsistencies in the final product.
- Measurement and Testing: Use calipers, micrometers, or other precision tools to measure the dimensions of the component and compare them to the original specifications. Conducting hardness tests or other material assessments may also be necessary.
Step 2: Determine the Cause of the Failure
Once you’ve identified the problem, the next step is to determine the root cause. Common causes of press die mold component failures include:
- Material Fatigue: Repeated use can lead to fatigue, causing the material to crack or deform over time.
- Improper Lubrication: Insufficient or incorrect lubrication can lead to increased friction, causing wear and tear.
- Overloading: Exceeding the die’s capacity can result in excessive stress, leading to breakage.
- Misalignment: If the press or the die is not properly aligned, it can cause uneven pressure distribution, leading to component failure.
Understanding the cause of the failure is crucial for determining the appropriate repair strategy and preventing future issues.
Step 3: Evaluate the Extent of the Damage
After identifying the problem and its cause, assess the extent of the damage to determine whether the component can be repaired or if it needs to be replaced. In some cases, minor damage such as small cracks or surface wear can be repaired, while more severe damage may require complete replacement.
Step 4: Implement Repair Solutions
If the damage is repairable, proceed with the following steps:
- Grinding and Polishing: For minor surface damage, grinding and polishing can be used to remove imperfections and restore the component’s surface to its original condition.
- Welding or Brazing: For cracks or broken parts, welding or brazing can be used to repair the component. Ensure that the repair material is compatible with the original material to maintain strength and durability.
- Heat Treatment: In some cases, heat treatment can be used to restore the hardness and strength of the component after repair.
- Replacement of Worn Parts: If the component has worn parts such as bushings or inserts, replacing these parts may be necessary to restore functionality.
Step 5: Test the Repaired Component
After completing the repair, it’s essential to test the component to ensure that it functions correctly. This can be done by:
- Reinstalling the Component: Reinstall the repaired component in the press die mold and conduct a test run to verify that it operates smoothly and produces consistent results.
- Performing a Quality Check: Inspect the products produced during the test run for any defects or inconsistencies that may indicate further issues with the repaired component.
Step 6: Document the Repair Process
Finally, document the repair process, including the problem, cause, repair method, and test results. This documentation will be valuable for future reference and can help prevent similar issues from occurring in the future.
Conclusion
Troubleshooting and repairing a broken press die mold component requires a systematic approach to identify the problem, determine the cause, and implement effective repair solutions. By following these steps, you can minimize downtime, extend the life of your press die mold components, and ensure consistent production quality.


